Showing posts with label KamadoJoe Cooks. Show all posts

Saturday, July 26, 2014

Garlic Rosemary Surf & Turf - Steak on the Grill Grates


Is there any better protein combo then a classic surf and turf? I don't think so, and they only way I know of to improve this combo is to just add corn!

Here is a quick and flavourful surf and turf that combines two of my favourite strong flavours.. Rosemary and Garlic. As always the full recipe can be found at the bottom of the page.


Starting 24 hours earlier I mix my wet and dry ingredients in ziplock bags and then add the steak to one bag and corn to a second bag. The Steaks can use a good rub down so do your best to work the flavours in early then let them soak it up over night. Removed both the steaks and corn from the fridge about 30 minutes prior to them hitting the grill and give them a healthy dose of salt and pepper


If you don't own a set of grill grates you really should check them out. to-date since owning my grates I have yet to grill a steak without them. These steaks were grilled at 650 degrees on screaming hot grates, I let them sizzle for 2 minutes, rotate once, sizzle for 2 more minutes then flit and do the same on side 2. 

depending on how well you like your steaks done, you can alter the time or cook with the lid closed to generate more heat during the cook.


Once you have flipped the steaks you can add the add the corn, these cobs will take 7-10 minutes to cook, so I get them on while the steak is cooking its last 4 minutes and leave them on for the 5 minute resting period.

Try cooking the corn on your grill grates, it will add some nice sear marks. The shrimp should be placed on the grill while the steak is resting. Depending on size they will take 2-5 minutes to cook. Cook them with the heat under the shell for the first 2-3 minutes then meat side down for grill marks.


Ingredients:


2           Steaks (your cut your choice)
2           Rosemary Sprigs
2 tbsp   Olive Oil
1 tsp     Minced Garlic


2          Ears of Corn
2          Rosemary Sprigs
2 tbsp   Olive Oil
1 tsp     Minced Garlic

1/3 Lb  Shrimp (sized at U15)


Marinate both the steaks and the corn overnight, or for a minimum of 3 hours. Remove from the fridge 30 minutes prior to it hitting the grill

the surf part of this recipe  needs no marinating, just clean and split the shrimp and baste with butter (and garlic) while on the grill.

Heat Source & Tools

(1) Royal Oak - Blue Bag
(2) Grill Grates


Tuesday, July 22, 2014

Apple Rosemary Beer Can Chicken


Note: The below recipe is from KamadoGuru forum user DerHusker. When I saw his post I immediately purchased all the ingredients to do up my own slightly tweaked version. If you would like to see the original click HERE.. if not keep reading and try not to drool on your keyboard. As always I will lead with the step by step, and you will find the ingredient and tool list at the bottom.

Alright lets get started

to kick off a good Beer Can chicken I start by loading up the Kamado Joe and getting it heating up to 375 degrees for a fast cook (45mins-1hr) or 275 for a slow cook (2 hrs). As the Q is heating I place all the ingredients below (except the cider) into a food processor and give it a blend until it is paste like or looking kinda like pesto consistence.

Tip: Add the oil slowly you may need more, or less depending on how runny or solid you would like your wet rub,

Tip: Most of these ingredients you can eyeball, but the cinnamon and sage should be fairly accurate, Both of these are strong and can take over the dish


Once the wet rub is ready, start to work it up under the skin of the chicken. Get a good couple tablespoon under there and then proceed to use the rest of the rub on the outside of the bird.

Once coated its time to add the "beer can" portion of the recipe. If your not into booze you could use standard apple juice or non alcoholic cider, but I opted for a can of Somersby Apply Cider, it is a personal fav of mine and adds a ton sweetness and flavour… not to mention I get to

Tip: When trying to get up under the chicken skin, use the handle end of a butter knife and work slowly in order not to rip the skin.  Use your hands to add the wet rub a little at a time and work it in as deep as you can

Tip: Watch your can size, the Somersby can is a little large for smaller chickens, just cram it on or pour the cider into a smaller can.


Once on the grill just set it and forget it. I rarely check in my my birds, unless I see excessive smoke or want to rotate it a bit. The cook was only interrupted once at which time I spun the chicken to ensure an even cook.

I always probe my chicken in the breast and thigh looking for it to reach above 165. Once there I pull the chicken from the grill and let it rest for at least 5 minutes prior to quartering.


Ingredients:

1           Roaster Chicken (3lbs)
1           Green Apple (diced)
3           Sprigs of Rosemary
3-5        Sage Leaves (dried is also fine)
1/2 tsp   Ginger (minced)
1/4 tsp   Cinnamon
2 tbsp    Montreal Chicken Spice
1/3 Cup Olive Oil
1    Can  Somersby Apple Cider


As mentioned above this recipe is my own take on a recipe that can be found on the KamadoGuru forum HERE

Sides: I paired this dish with roasted sweet potato and a salad of arugula, BBQ apples and fig balsamic dressing

Heat Source & Tools

(1) Royal Oak (Blue Bag)
(2) Kamado Joe Heat Deflector
(3) BeerCan Chicken Stand


Sunday, July 13, 2014

Kofta Kabobs on the Kamado


I'm a huge fan of middle eastern food, and even more so all those small local shops cooking various kabobs over open flame and charcoal. Since purchasing my Kamado I have been looking for an accessory that would allow me to cook kabobs with no grates, but since I could not find one I had to improvise.

The full recipe for my Kofta Kabobs can be found at the bottom of this post, but the majority of this article will focus on the tips and learning's from my first open coal cooks

Tip 1: Make the Kabobs the night before and tightly wrap each in plastic wrap. This will help the kabobs keep their shape and hold onto the skewer when on the grill


Tip 2: Use stainless skewers and not wood for this style of cook, the heat and flames will burn up the ends of your wood skewers and your kabobs will end up in the flames and not on the plate.

Tip3: Because we will be cooking on an angle, you need to use some form of firm vegetable to tip your skewers in order to hold the meat in place. I usually use onion and or peppers, but since the fridge was pretty bare I opted to cut the stem from some broccoli to use as a cap (the mushrooms where my first thought but we all know how well they hold up)


Tip 4: I set up the grill for indirect cooking, using the half moon heat deflector with the grate in the upper position. This gives me the ability to angle to kabobs down towards the flame using the fire bowl lip to hold them in place.

Tip 5: You may want to do a test measure on the length of your kabobs. I made mine a little long and had to squish them down a bot to ensure all the meat was over the coals.

Tip 6: This is an open lid cook for the most part, if you are going to close the dome, stay close by to avoid flare ups.


Tip 7: Rotating Kofta Kabobs on a stainless skewer can be tricky. If the meat is too loose it will spin, so be prepared to use a two hand technique. Once the meat crusts up it will be easier to slip or spin. Keep things moving to avoid deep charring, and move kabobs around in and out of hot spots.


Tip 8: If you having a hard time with flare ups or excessive charring, you can slide the kabobs off the skewers and place them on the grill over indirect heat. Close the lid and finish cooking this way.


I love to eat these in wrap or sandwich form. Today I tossed a few naan breads on the grill to warm them up, and then added shredded lettuce, to mote, sliced onion and Tzatziki (or raita if you have some). These already have some heat to them, but add some hot sauce if you want some added burn.

there you have it, the middle eastern hot dog aka Kofta Kabobs


Ingredients:


1 lb.      Ground Beef
1           Egg
1tsp      Coriander
1/2 tsp  Chili Flakes
1 tbsp   Cumin
1 tsp     Crushed ginger
1 tsp     Minced Garlic
1 tbsp   Chopped Cilantro (or mint)

Lemon Zest (1 lemon)
Salt & Pepper to taste

This recipe is my own take on a Jamie Oliver recipe that can be found HERE

Toppings: Shredded Lettuce, Dices tomato, and thin slices of onion (hot sauce if you must)

Heat Source & Tools

(1) Cowboy Brand Charcoal 
(2) Kamado Joe Heat Deflector
(3) 12" Stainless Steel Skewers


Wednesday, July 9, 2014

Kamado Joe - Rosemary Seared Lamp Chops


Lamb is one most under appreciated meats for the BBQ, and this past weekend when I saw these nice looking shoulder chops I just couldn't pass them up. It took all I had to let them sit for the full 24 hour marinade time, but believe me this won't be my last lamb cook this season


Lamb is a hearty meat that can take big flavour, so I ran with a simple but punchy marinade consisting of olive oil, minced/crushed garlic, rosemary and a  hint of cayenne. I let this stew overnight 

While bringing the grill to temp I hit it with salt and pepper (about 30 minutes prior to the cook)


The grill is set up for both direct and indirect, once the temp hits 375-400 degrees I tossed the lamb shoulder chops on over direct heat and grill for 2 minutes to 2 minutes 30 seconds per side.

At this time if you like your lamb medium well to well done, you can move it off the heat and place it on indirect for 2-4 more minutes

Tip: while cooking over direct heat has a water filled spray bottle handy, as the fat and oil coming off your chops will cause flare ups. Attempt to use the spray bottle instead of moving the chops.


Once cooked to desired doneness, pull the chops and let them rest for 5 minutes.


Optional Sides


I like to serve this lamb with couscous and a small salad of cucumber, tomatoes and peppers. Couscous is nice and works great to sop up the juices from the lamb. Both the couscous and the salad can be made while the lamb rests so it is still super fresh when dinner is ready


Sauces & Rubs & Marinades

(1) Garlic Rosemay Marinade


Heat Source & Tools

(1) Basques Natures Own (green bag) Charcoal 
(2) Kamado Joe Heat Deflector (half)


Saturday, July 5, 2014

Kamado Joe - In search of the perfect Pizza - Attempt #3


With each cook I seem to get closer and closer to pizza perfection. On my third attempt I have found the perfect dough recipe and with a few tweaks to my cooking method I think I will be able to achieve the crust I'm looking for when I attempt cook #4

Tip: When learning a new technique it is good to focus on one or two new things instead of trying a bunch of things. For example on cooks 1 and 2, I made both the dough and the sauce from scratch (new recipes), this is all well and good but it was hard for me to decipher what I liked and didn't like and why. So on this cook I made the dough from scratch but used a store bought sauce that I know I like. Once I nail the crust I will begin the pursuit for the perfect sauce(s)

Tip: Pizza cooks takes some time, so watch out for charcoal that burns hot and fast. The CowBoy brand heats up hot fast, but it also  burns up fast.. meaning that while I heated up my pizza stone for the required 45minutes to an hour, I was quickly loosing charcoal at the rate that I would need to add more in order to keep my temps up through the entire cook

Mistake: I still did not get my pizza high enough into the dome to achieve the perfect cook. In order to do so I think I will need the grill expander, so I bought one and hope to have it in hand shortly to give it a try. Not having my pizza close to dome did not get me as much all around heat thus the toppings although cooked where not as well done as the crust


Sauce & Crust

(1) Brown Eyed Baker "Thin Crust"
(2) Classico Pizza Sauce 


Heat Source & Tools

(1) Cowboy Brand Charcoal 
(2) Kamado Joe Pizza Stone
(3) Kamado Joe Heat Deflector
(4) Infrared Temperature Gun


Friday, June 27, 2014

Kamado Joe - Cheap Night - BBQ Drumsticks & Asparagus Spears


If you are ever looking for a nice quick and cheap meal, there is no better place to start then a flat of chicken drumsticks and some asparagus spears.. add a side salad and you are still under $10 to feed 2-3 people

Drumsticks have always been a crowd pleaser and until this day I still favor them over most other cuts of chicken.. on the BBQ anyways. here is a quick flavourful meal for any night of the week.


Set up your Kamado for indirect cooking, if you have the Divide and Conquer model you only need to set up one side for indirect and leave the other open for direct.. I do this so I can add a quick blister to my veggies and chicken at the end of the cook

Shake down and rub your drumsticks with your fav rub (or just salt and pepper)


Depending on the size of your drumsticks they will take between 45 minutes to an hour to cook. In a Kamado they stay nice and juicy so there is little worry of slightly over cooking them


At the 45 minute mark I sauce the drumsticks, turn, re-sauce, turn re-sauce and then move to direct heat to add a bit of blister to the skin and caramelize the sauce… then move them off the grill to rest


For my Asparagus, I usually finely chop cilantro, juice a lemon and toss it all in olive oil, and let it  marinate while the chicken is cooking. Just prior to hitting the grill I hit it with some salt and pepper and place them on my veggie skewers

And since I know you'll ask, you can find these veggies skewers  HERE

Asparagus does not take long over charcoal and since I like mine a bit softer then most I will not give you a time here, just keep moving them and you will until they are slightly blistered, soft internally and still have a nice snap when broken


There you have it, a quick cheap and relatively healthy meal on your Kamado in under an hour


Sauces & Rubs

(1) Ted Reader "Bone Dust"
(2) Guy Fieri "Kansas BBQ Sauce"

Heat Source & Tools

(1) Basques Natures Own (green bag) Charcoal 
(2) Kamado Joe Heat Deflector (half)
(3) Veggie Raft Skewers

Monday, June 23, 2014

Kamado Joe - In search of the perfect Pizza - Attempt #2


After my disastrous first attempt at pizza on the Kamado, I stepped back, looked at my mistakes and then started fresh… key word "Fresh" meaning I made both the dough and the sauce from scratch. Both of the recipes I used can be found below. I will state now that I was not super happy with the crust, but this quick and easy sauce had some good flavour, though it tastes much like the canned sauce I can get at most local grocers.

All in all this cook was better then cook 1, but still much room for improvement.. here are my findings:

Mistake #1 on this cook was not resting the dough over night, I allow it to sit for a good few hours, but I should have made it early and left it overnight like almost all recipes call for. This may have been the reason it was harder to stretch and did not bake up as nicely as I had hopped.

Mistake #2: once the BBQ got up to 500 degrees I dropped in the heat deflector at the lower level and place the pizza stone on the main grill.. almost immediately I noticed my temp stopped climbing and we I had a really hard time getting it up over 550 degrees.

Mistake #3: I allowed the pizza stone to climb up to 544 degrees but since the BBQ was not much hotter I decided to just toss on my pizza. This made for a much slower cook then I had hoped for, and the crust was left this nasty white colour and not the golden brown I was looking for.


Tip #1: As mentioned above I left the pizza stone on the top rack, which was nowhere near close enough to the top of the kamado to get that quick cook on the cheese and toppings. This really was a slow bake not at all what I was looking for in a finished product. Buying an extender rack will help with this issue and get your pizza up nice and high

Tip #2: when trying to learn a new cooking technique, your best to keep it pretty simple. This is why I have been making margherita pizza, which is simply dough, sauce, cheese and basil. Once I have this nailed I will start to experiment further.


Sauce & Dough

(1) Easy Pizza Sauce 1 (allrecipes.com)
(2) Classic NewYork Style Pizza Dough


Heat Source & Tools

(1) Natures Own by Basques Charcoal 
(2) Kamado Joe Pizza Stone
(3) Kamado Joe Heat Deflector
(4) Infrared Temperature Gun


Thursday, June 19, 2014

Kamado Joe - Memphis Fried Egg Burger


While walking the butchers counter trying to decide what I wanted for dinner I watched one of the staff come out from the back and lay down a stack of burgers for the customer ahead of him in line..decision made.. once burgers are on the mind there is only one way to get them off…

This is my second burger cook since becoming a Kamado Joe owner, and since my first cook was right on the grill, full flavour, I decided to test out what a burger cook would be like using my grill grates.


I lowered the racks and got the fire up to about 400 degrees fairly quickly.  Once there I  put the grill grates in place and then gave them a minute to heat up (i wanted that grill grate sear)


before putting the burgers on, I gave the grates a temp check with my new toy, an infrared thermometer gun.. ah, so close to  500 should make this a quick cook, leaving the meat juicy


Thats the marks I was looking for.. once fully cooked I added some shredded aged cheddar and gave it a minute to melt (lid closed). To finish this burger up, I placed sliced picked (Nathans) and a home made BBQ sauce I picked up from serious eats.com (see below link).. to top it off I added a sunny-side-up fried egg

Burger fix officially accomplished


Sauces & Rubs

(1) Memphis Style BBQ Sauce (seriouseats.com)


Heat Source & Tools

(1) Kamado Joe (red bag) Charcoal 
(2) Grill Grates 
(3) Infrared Temperature Gun


Sunday, June 15, 2014

Kamado Joe - My First Brisket


Once you buy your first smoker you know it is just a matter of time before your start doing up briskets, ribs and other low and slow cuts of meat that these bbq's excel at. Once you have the smoker, all you need next is the time, and this past weekend I had just that


On Friday night on my way home from work I swing by a local butcher shop to see if he had any briskets left. Lucky for me he did, and was willing to cut the flat off for me, as the 4lb was more then enough for my wife and I, and the full brisket would simply have gone to waste.

Once home I gave the brisket a once over with my knife removing any excess fat


Once trimmed up it was time to give this beast a rub down. I use the rub from Muddy's Pit BBQ in Keene, Ontario, they are on of my favourite places to eat and their rub and sauce are simply amazing.

Once rubbed down I made some slits in the fat cap then wrapped the brisket in plastic wrap and stored it in the fridge over night


On Saturday morning I was out of bed at 7:30 (ugh) and had the Kamado heating up to a temp of 250. Once there I tossed in 4 chunks of Nature's Grilling  hickory and placed my heat deflector on the grill and positioned a drip pan under my brisket. I instead a digital thermometer in the meat in order to keep an eye on the internal temp


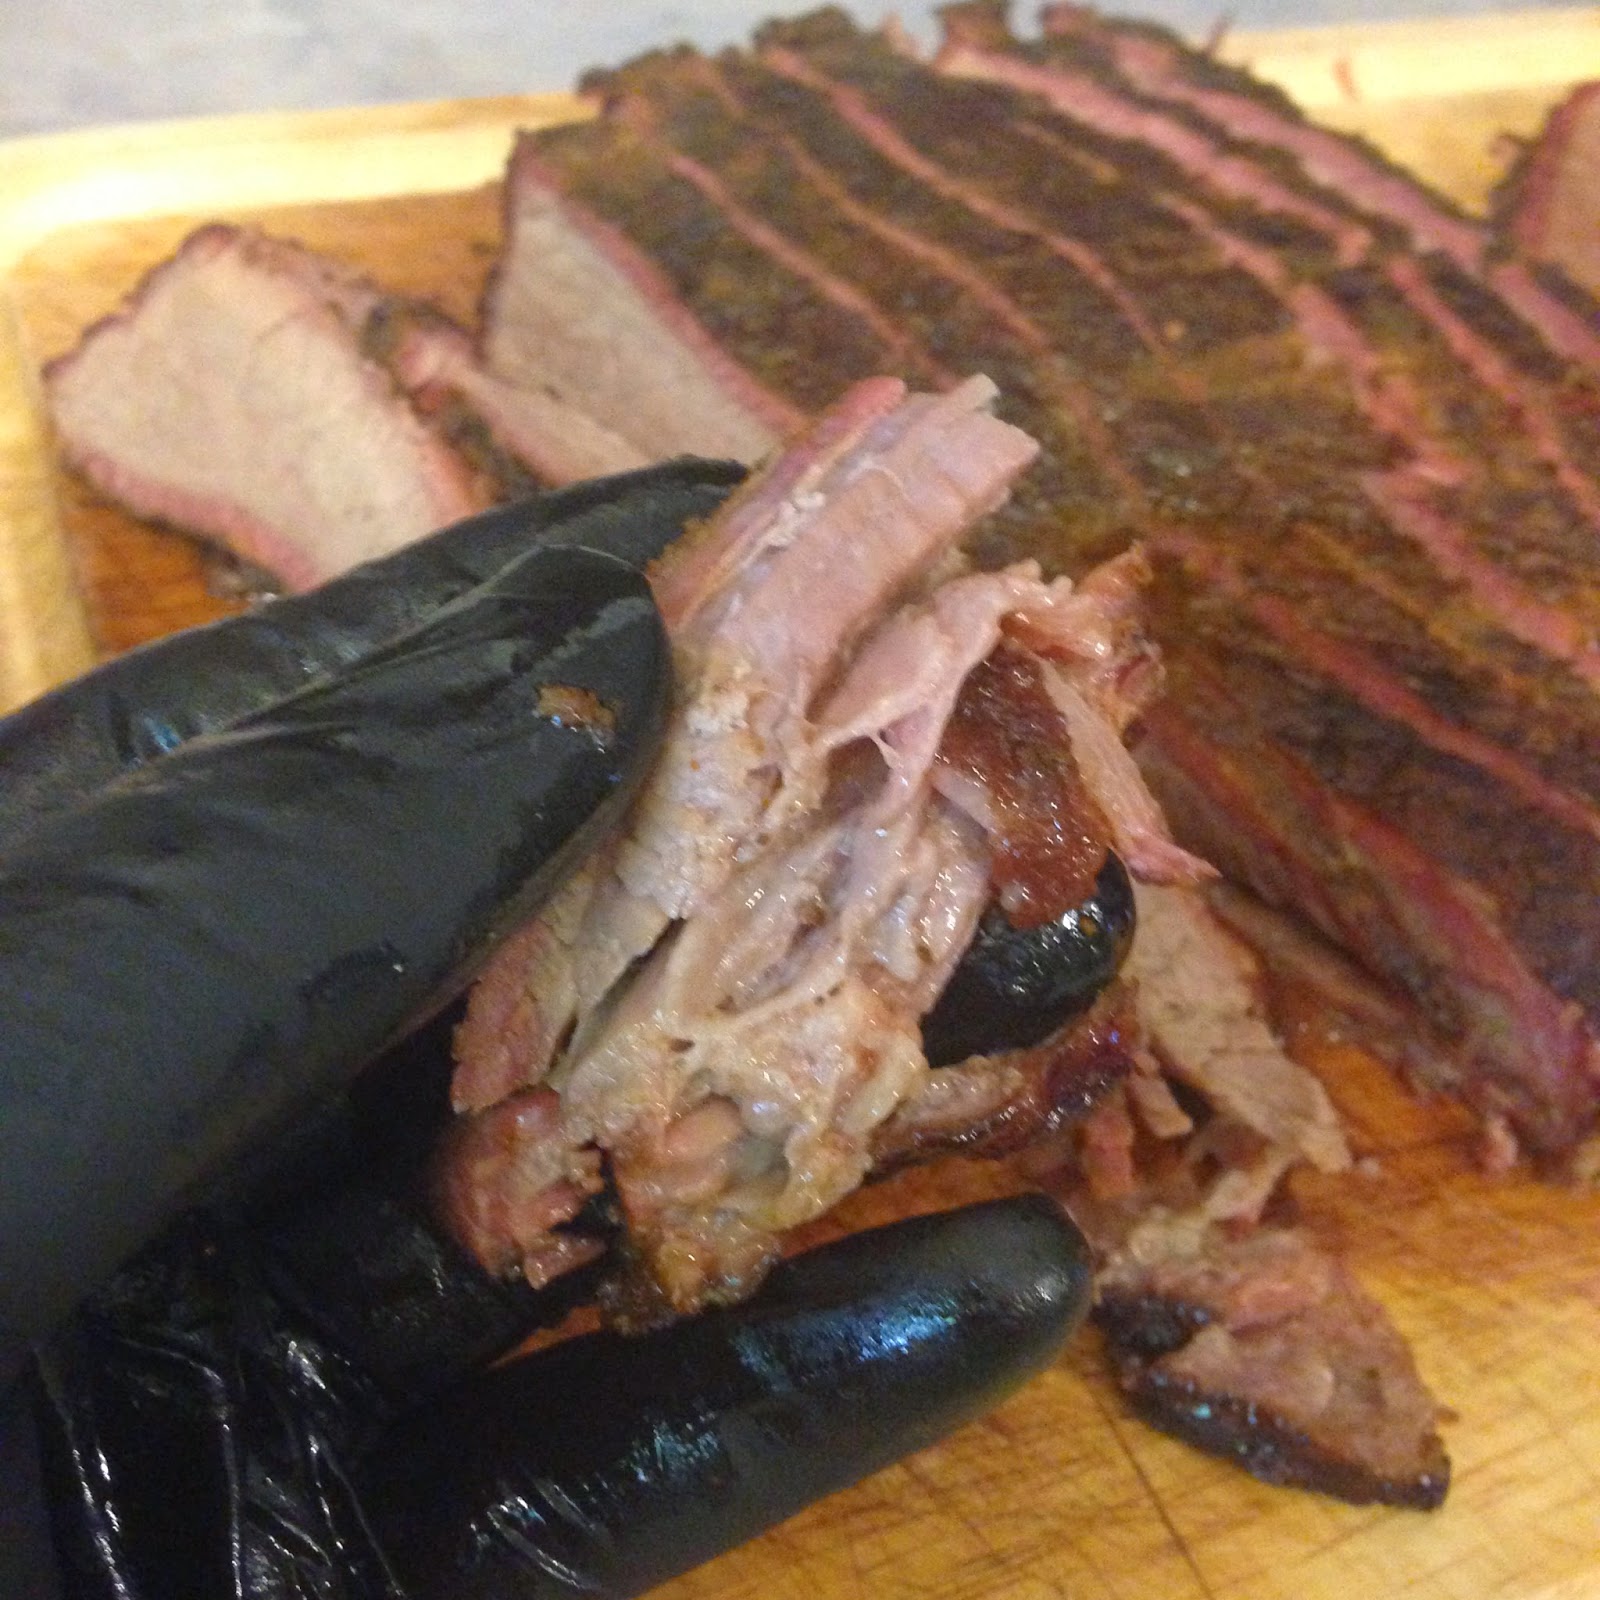
Nearly 4 hours into the cook, this is what y Brisket looked like. It was now hovering around the 150 degree mark and fully stalled, so I headed some advice I read on-line and wrapped it up in tinfoil and placed it back on the grill.


Just after 5pm my brisket finally broke the 200 degree mark and was ready to be pulled. Again heeding advise I quickly added some apple juice to the brisket, re-foiled it and then wrapped it in a towel. Once cozy I placed it in a cooler bag and zipped it up tight


One and half hours later my brisket was ready to cut and of course EAT!


Lesson/Tips:


(1) Being my first low and slow cook I had some trouble keeping the temp at 250 or under, so in the first hour I was chasing temps as high as 300 and on average 275. I believe this was often due to not letting it fully adjust and settle in prior to tweaking the grates, more patience would have allowed me to settle in quicker.

(2) I found my brisket to be slightly dryer then I had hoped, during my next attempt I will try filling my drip pan with water to add moisture during the cook.

(3) Foil Wrapping is very helpful, that stall period around 150 degrees lasts a long time, foiling the meat will kick start it and help keep some juices in while you cook.

(4) My smoke ring was perfect (if I do say so myself) but the bark could have used some help. I'm wondering if this is because I did not use oil or mustard as a base to hold my rub on and build it up.

(5) Left over brisket makes for great hot-beef sandwhiches


Sauces & Rubs

(1) Muddy's Pit BBQ Rub
(2) Muddy's Pit BBQ Sauce

Heat Source & Tools

(1) Basques Natures Own Charcoal 
(2) Nature's Grilling Wood Chunks (Hickory)
(3) Kamado Joe Heat Deflector
(4) Maverick Digital Thermometer


Saturday, June 7, 2014

Kamado Joe - In search of the Perfect Pizza - Attempt #1


What a disaster, one of my main reasons for picking up a Kamado is my love of pizza, but so far I can tell this is going to be a challenge…

Pizza attempt #1 was kinda of rushed and not as home made as I would have liked. As you can see from the above image, the crust really puffed up on me and did not darken up as mush as I would have liked.. who wants a pasty white crust?

Learning's:

Don't buy store bought pizza crust, yes some stores sell fresh pizza dough, but how fresh, how well proofed and what they are made of will still be a mystery. I had a hard time stretching my dough, and it could have been because it was fairly cold, or it could have been over worked.

Do to my over working and the length of time I needed to stretch the pizza I used more flour then I would have hopped, and thus effecting the overall cook.

As for toppings I used fresh mozzarella (in water) I think this was a mistake as it released some water during the cook, wetting down the sauce. I also used a basic tomato puree with some fresh garlic. The sauce really could have used a boost as it imparted little to no taste

As mentioned above I kinda rushed into this cook, and although I heated the BBQ to 550 degrees, I did not leave the pizza stone on the grill long enough to properly heat up.. thus the crust cooked much slower then expected and I did not get that nice crunch and pull that I was looking for. It was almost bread like in texture.


Heat Source & Tools

(1) Kamado Joe (red bag) Charcoal 
(2) Kamado Joe Pizza Stone
(3) Kamado Joe Heat Deflector


Pizza attempt #2 will be posted soon, the results were better, but still not great


Tuesday, June 3, 2014

Kamado Joe - Smoked Split Chicken & Portobello Mushroom Caps


My second cook on my KamadoJoe was a split or butterflied chicken, with portobello mushroom caps.

Ingredients:

(a) 3lb Chicken
(b) Generous portion of your favourite rub (this bird was done with Montreal Chicken Spice)
(c ) 2-4 Portobello Caps (stems removed)
(d) 2-4 tablespoons Balsamic Vinegar

Step by Step

Chicken

(a) Split the chicken by cutting down both sides of the backbone to remove it.
(b) coat the inside of the bird with your spice rub
(c ) flip, press down to flatten and then coat the skin of your spice rub
(d) Cook over indirect heat for 1 hour or until done

Mushroom Caps

(a) remove the stems (if you haven't already done so at the grocery store to save some cash)
(b) use a spoon to remove the gills (the dark brown stuff)
(c ) place 1tbsp of balsamic in each cap
(d) cook at 350-375 for 10-15 minutes or until the balsamic is boiling away


Lessons learned/Tips:


Mesquite does not pair well with chicken, it had an overly smokey flavour and not the "kiss" I was hoping for. In future cooks I moved to Hickory and other less aggressive woods.

The use of a drip pan not only lessens clean-up but it avoids getting a singed or burnt flavour from the chicken fat burning at high temps.

Sauces & Rubs

(1) Montreal Chicken Spice


Heat Source & Tools

(1) Kamado Joe (red bag) Charcoal 
(2) Nature's Grilling Wood Chunks (Mesquie)
(3) Kamado Joe Heat Deflector


Friday, May 30, 2014

Kamado Joe - My Frist Cook - Seared Prime Rib Steaks


It did not take me long to put u Kamado Joe to use, and since my Grill Grates arrived in the mail the very same day as my KJ, I thought what better way to kick things off then with a couple of Prime Rib steaks paired with baked potatoes (sorry in my excite I missed shooting pics of the potatoes)

I started off by getting the KJ up to 350-370, it took about 20 minutes to get there and stabilize. I then greased up a pair of bakers with olive oil and a heavy dose of salt and pepper, foil wrapped them and put them on the grill over indirect heat for 45 minutes (yeah that was enough).

Once the potatoes were done I pulled the heat deflector and added the Grill grates. Opening up the air vents I brought the KJ up to 550 and dropped the steaks (1" each) for 3 minutes per side.

The grill grates worked as advertised giving me those perfect diamond sear marks.


Tips:


I slightly over cooked these steaks, but being that it was my first time using the BBQ and the grates Im going to go easy on myself. Im not sure if it was the resting period that go me, or if the steaks were just not thick enough to hold up to that cook.. next time I will be shortening the cook slightly to 2 minutes per side

When using grill grates you need to watch your rub or spice mixture, the extreme heat applied by the grates can give them a burnt or bitter taste.. keep it simple and you will be happier with the outcome


Heat Source & Tools


(1) Kamado Joe (red bag) Charcoal 
(2) Grill Grates


Wednesday, May 28, 2014

My Kamado Joe arrives!


It has been nearly 3 years since I began the process of reading reviews and checking out the various Kamado style BBQ's, and finally this year I was not only in position to purchase one, but I also knew exactly which one I wanted..

The Kamado Joe Classic (2014 edition)

The reason behind my decision was two-fold, first and foremost the features and constant innovation that Kamado Joe brings to the table is second to none.. the 2014 model is equipped with their "Divid and Conquer" grates and heat deflector.. simple put this gives the user the ability to cook over both direct and indirect heat without having to get into the firebox. The split grills also allow me to book on two levels moving food closer and further from the coals as the cooking progresses.
Kamado Joe has other innovations that are in various stages of market readiness, the "Joe Blow" is currently available for sale and looks like it would be a great new way to get your fire started.. quickly.. and finally the Wizard is still in production and already causing a stir, this heat control system should let you "set-it and forget-it" with pin point accuracy  


The above image depicts how the KJ is shipped, it is a super simple assembly, all you need to do is cut the green straps, and watch the cardboard walls fall. The Body of the Kamado is fully assembled, and all you need to do is unpack, place it on the stand and clip the shelves into place… pretty simple (and Im thank-full)


Fully assembled and ready to cook


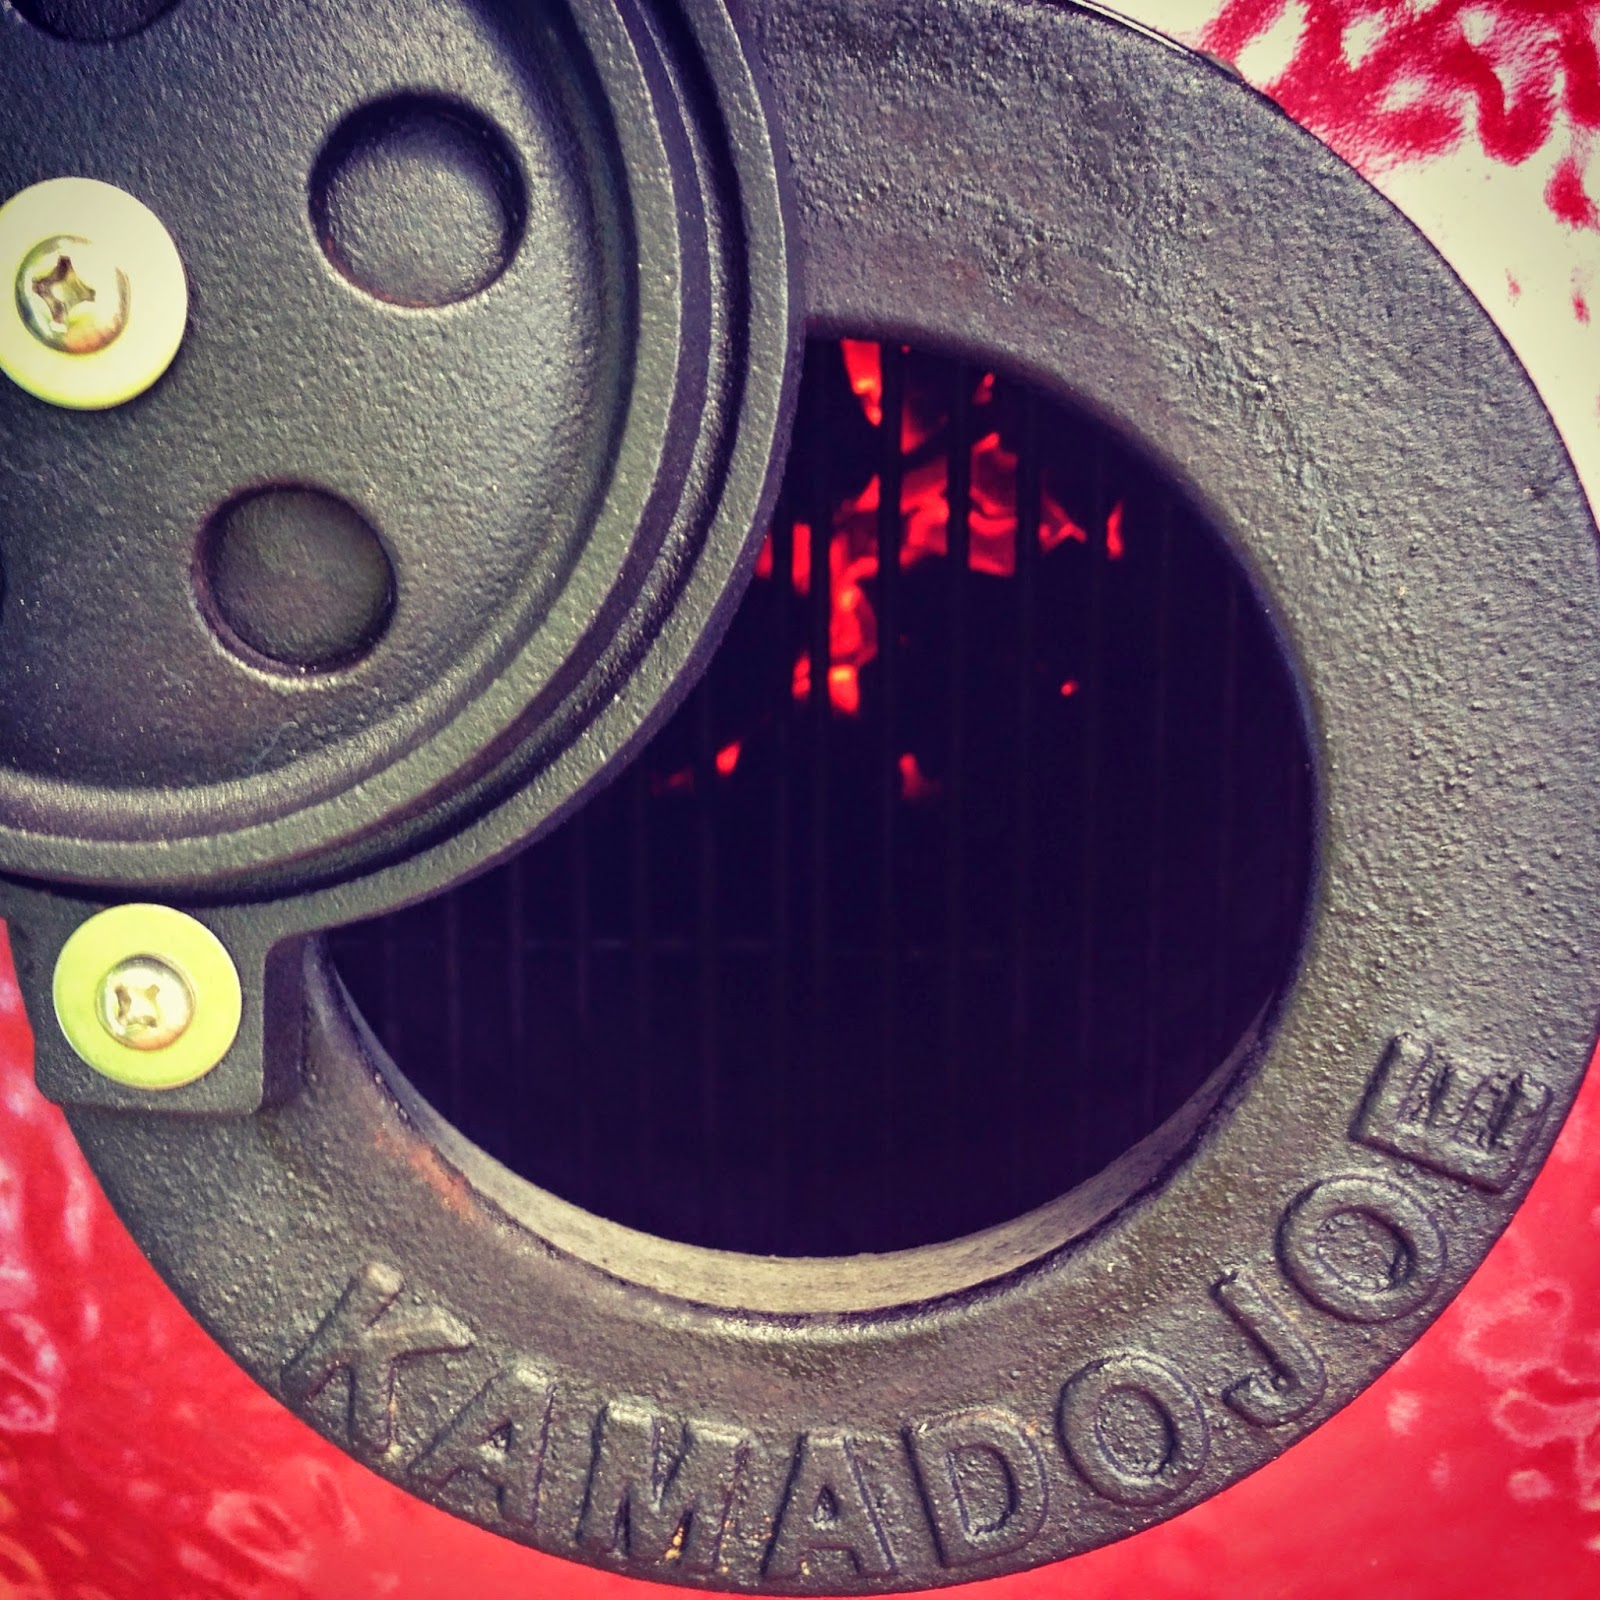
Here it is, lighting up charcoal for the firs time (ever).. where will it go from here!


Kamado Joe was purchased from: FirePlaces Unlimited Kingston, to find a dealer near you click HERE