Showing posts with label Beef. Show all posts

Saturday, July 26, 2014

Garlic Rosemary Surf & Turf - Steak on the Grill Grates


Is there any better protein combo then a classic surf and turf? I don't think so, and they only way I know of to improve this combo is to just add corn!

Here is a quick and flavourful surf and turf that combines two of my favourite strong flavours.. Rosemary and Garlic. As always the full recipe can be found at the bottom of the page.


Starting 24 hours earlier I mix my wet and dry ingredients in ziplock bags and then add the steak to one bag and corn to a second bag. The Steaks can use a good rub down so do your best to work the flavours in early then let them soak it up over night. Removed both the steaks and corn from the fridge about 30 minutes prior to them hitting the grill and give them a healthy dose of salt and pepper


If you don't own a set of grill grates you really should check them out. to-date since owning my grates I have yet to grill a steak without them. These steaks were grilled at 650 degrees on screaming hot grates, I let them sizzle for 2 minutes, rotate once, sizzle for 2 more minutes then flit and do the same on side 2. 

depending on how well you like your steaks done, you can alter the time or cook with the lid closed to generate more heat during the cook.


Once you have flipped the steaks you can add the add the corn, these cobs will take 7-10 minutes to cook, so I get them on while the steak is cooking its last 4 minutes and leave them on for the 5 minute resting period.

Try cooking the corn on your grill grates, it will add some nice sear marks. The shrimp should be placed on the grill while the steak is resting. Depending on size they will take 2-5 minutes to cook. Cook them with the heat under the shell for the first 2-3 minutes then meat side down for grill marks.


Ingredients:


2           Steaks (your cut your choice)
2           Rosemary Sprigs
2 tbsp   Olive Oil
1 tsp     Minced Garlic


2          Ears of Corn
2          Rosemary Sprigs
2 tbsp   Olive Oil
1 tsp     Minced Garlic

1/3 Lb  Shrimp (sized at U15)


Marinate both the steaks and the corn overnight, or for a minimum of 3 hours. Remove from the fridge 30 minutes prior to it hitting the grill

the surf part of this recipe  needs no marinating, just clean and split the shrimp and baste with butter (and garlic) while on the grill.

Heat Source & Tools

(1) Royal Oak - Blue Bag
(2) Grill Grates


Sunday, July 13, 2014

Kofta Kabobs on the Kamado


I'm a huge fan of middle eastern food, and even more so all those small local shops cooking various kabobs over open flame and charcoal. Since purchasing my Kamado I have been looking for an accessory that would allow me to cook kabobs with no grates, but since I could not find one I had to improvise.

The full recipe for my Kofta Kabobs can be found at the bottom of this post, but the majority of this article will focus on the tips and learning's from my first open coal cooks

Tip 1: Make the Kabobs the night before and tightly wrap each in plastic wrap. This will help the kabobs keep their shape and hold onto the skewer when on the grill


Tip 2: Use stainless skewers and not wood for this style of cook, the heat and flames will burn up the ends of your wood skewers and your kabobs will end up in the flames and not on the plate.

Tip3: Because we will be cooking on an angle, you need to use some form of firm vegetable to tip your skewers in order to hold the meat in place. I usually use onion and or peppers, but since the fridge was pretty bare I opted to cut the stem from some broccoli to use as a cap (the mushrooms where my first thought but we all know how well they hold up)


Tip 4: I set up the grill for indirect cooking, using the half moon heat deflector with the grate in the upper position. This gives me the ability to angle to kabobs down towards the flame using the fire bowl lip to hold them in place.

Tip 5: You may want to do a test measure on the length of your kabobs. I made mine a little long and had to squish them down a bot to ensure all the meat was over the coals.

Tip 6: This is an open lid cook for the most part, if you are going to close the dome, stay close by to avoid flare ups.


Tip 7: Rotating Kofta Kabobs on a stainless skewer can be tricky. If the meat is too loose it will spin, so be prepared to use a two hand technique. Once the meat crusts up it will be easier to slip or spin. Keep things moving to avoid deep charring, and move kabobs around in and out of hot spots.


Tip 8: If you having a hard time with flare ups or excessive charring, you can slide the kabobs off the skewers and place them on the grill over indirect heat. Close the lid and finish cooking this way.


I love to eat these in wrap or sandwich form. Today I tossed a few naan breads on the grill to warm them up, and then added shredded lettuce, to mote, sliced onion and Tzatziki (or raita if you have some). These already have some heat to them, but add some hot sauce if you want some added burn.

there you have it, the middle eastern hot dog aka Kofta Kabobs


Ingredients:


1 lb.      Ground Beef
1           Egg
1tsp      Coriander
1/2 tsp  Chili Flakes
1 tbsp   Cumin
1 tsp     Crushed ginger
1 tsp     Minced Garlic
1 tbsp   Chopped Cilantro (or mint)

Lemon Zest (1 lemon)
Salt & Pepper to taste

This recipe is my own take on a Jamie Oliver recipe that can be found HERE

Toppings: Shredded Lettuce, Dices tomato, and thin slices of onion (hot sauce if you must)

Heat Source & Tools

(1) Cowboy Brand Charcoal 
(2) Kamado Joe Heat Deflector
(3) 12" Stainless Steel Skewers


Thursday, June 19, 2014

Kamado Joe - Memphis Fried Egg Burger


While walking the butchers counter trying to decide what I wanted for dinner I watched one of the staff come out from the back and lay down a stack of burgers for the customer ahead of him in line..decision made.. once burgers are on the mind there is only one way to get them off…

This is my second burger cook since becoming a Kamado Joe owner, and since my first cook was right on the grill, full flavour, I decided to test out what a burger cook would be like using my grill grates.


I lowered the racks and got the fire up to about 400 degrees fairly quickly.  Once there I  put the grill grates in place and then gave them a minute to heat up (i wanted that grill grate sear)


before putting the burgers on, I gave the grates a temp check with my new toy, an infrared thermometer gun.. ah, so close to  500 should make this a quick cook, leaving the meat juicy


Thats the marks I was looking for.. once fully cooked I added some shredded aged cheddar and gave it a minute to melt (lid closed). To finish this burger up, I placed sliced picked (Nathans) and a home made BBQ sauce I picked up from serious eats.com (see below link).. to top it off I added a sunny-side-up fried egg

Burger fix officially accomplished


Sauces & Rubs

(1) Memphis Style BBQ Sauce (seriouseats.com)


Heat Source & Tools

(1) Kamado Joe (red bag) Charcoal 
(2) Grill Grates 
(3) Infrared Temperature Gun


Sunday, June 15, 2014

Kamado Joe - My First Brisket


Once you buy your first smoker you know it is just a matter of time before your start doing up briskets, ribs and other low and slow cuts of meat that these bbq's excel at. Once you have the smoker, all you need next is the time, and this past weekend I had just that


On Friday night on my way home from work I swing by a local butcher shop to see if he had any briskets left. Lucky for me he did, and was willing to cut the flat off for me, as the 4lb was more then enough for my wife and I, and the full brisket would simply have gone to waste.

Once home I gave the brisket a once over with my knife removing any excess fat


Once trimmed up it was time to give this beast a rub down. I use the rub from Muddy's Pit BBQ in Keene, Ontario, they are on of my favourite places to eat and their rub and sauce are simply amazing.

Once rubbed down I made some slits in the fat cap then wrapped the brisket in plastic wrap and stored it in the fridge over night


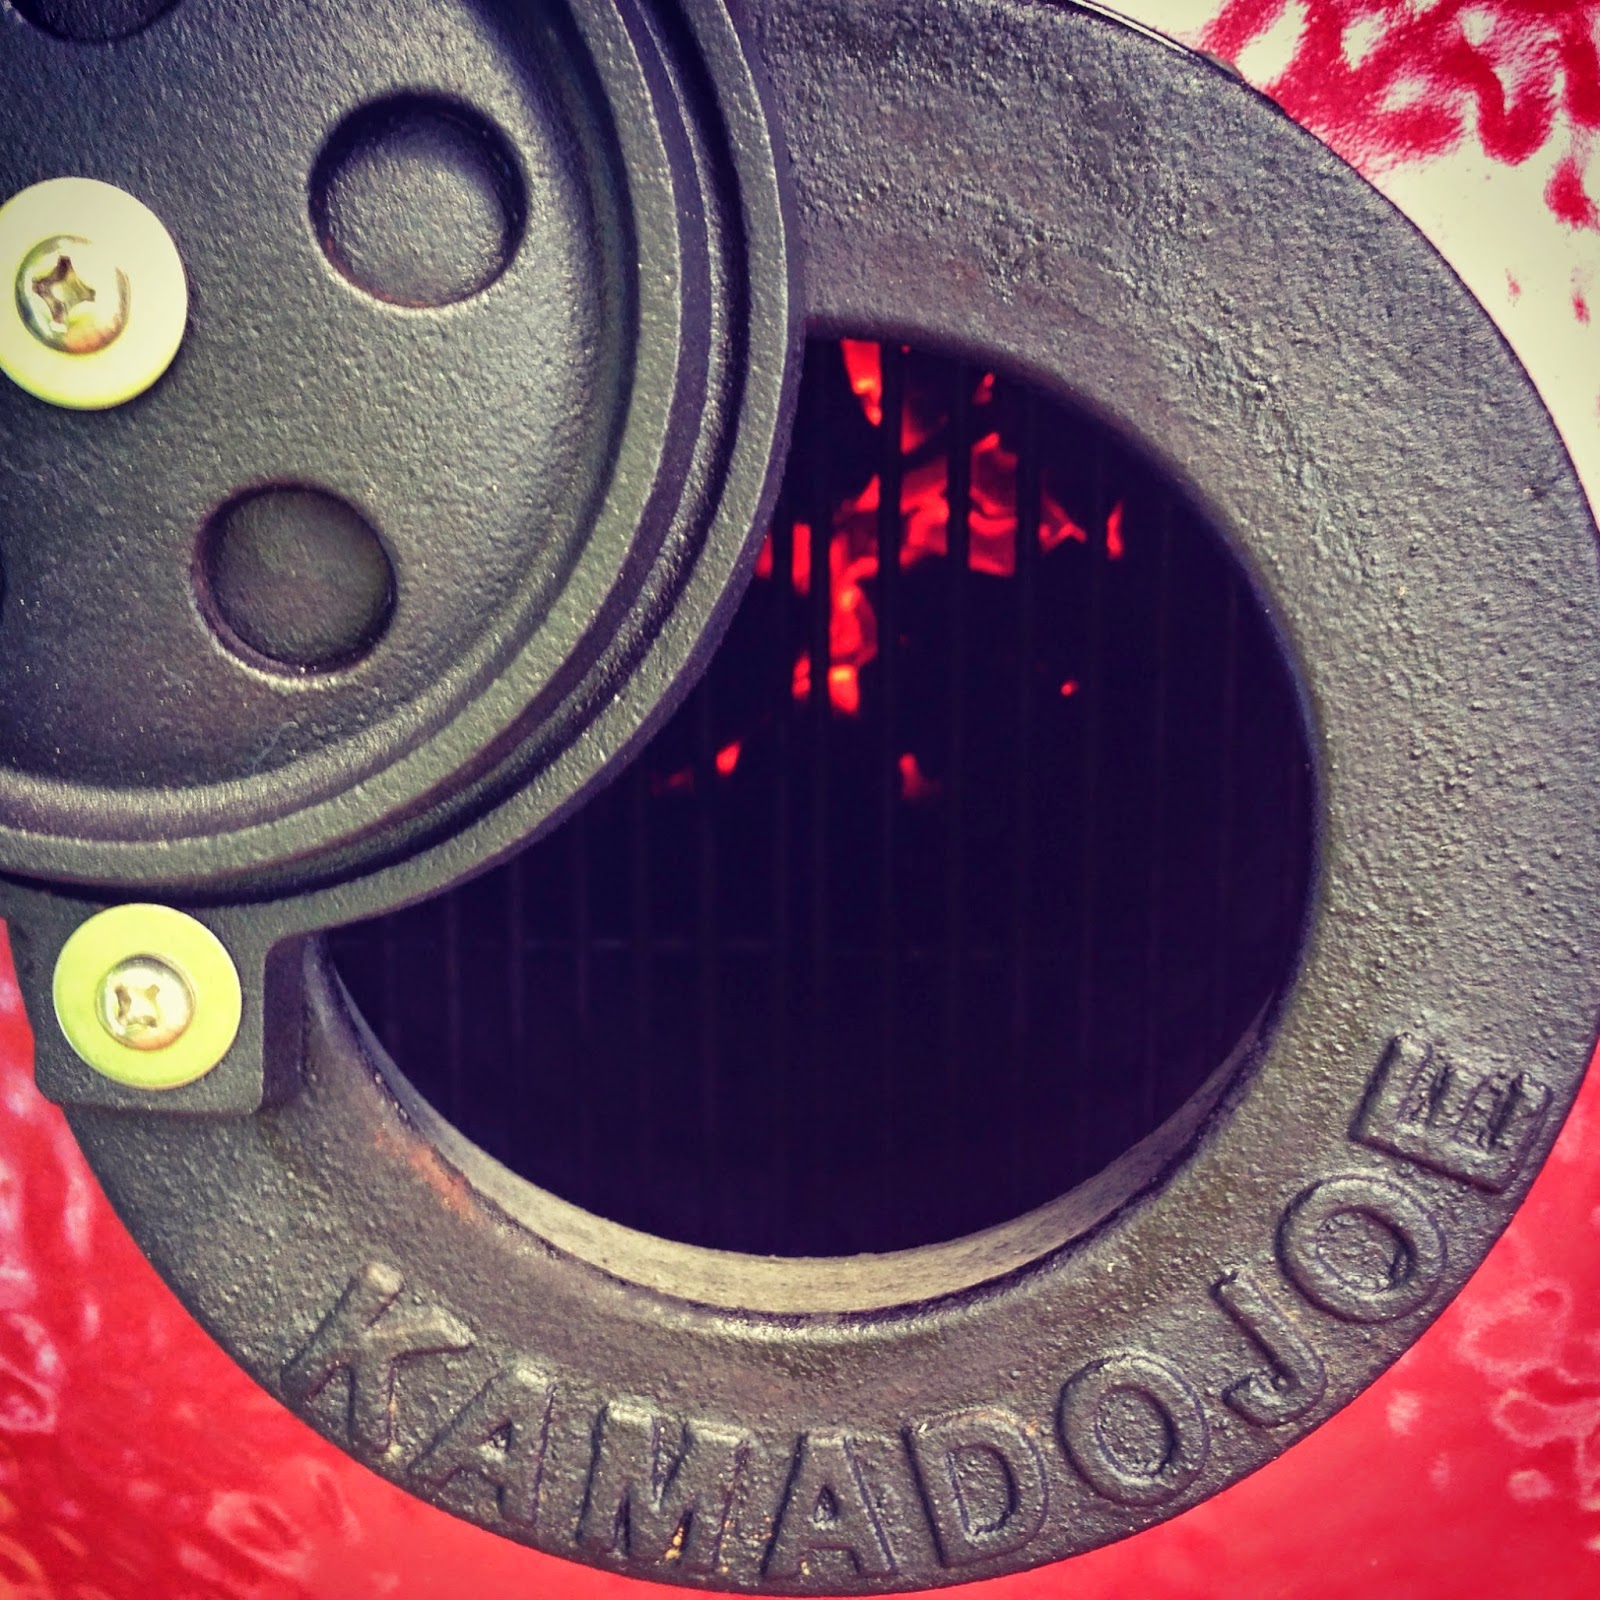
On Saturday morning I was out of bed at 7:30 (ugh) and had the Kamado heating up to a temp of 250. Once there I tossed in 4 chunks of Nature's Grilling  hickory and placed my heat deflector on the grill and positioned a drip pan under my brisket. I instead a digital thermometer in the meat in order to keep an eye on the internal temp


Nearly 4 hours into the cook, this is what y Brisket looked like. It was now hovering around the 150 degree mark and fully stalled, so I headed some advice I read on-line and wrapped it up in tinfoil and placed it back on the grill.


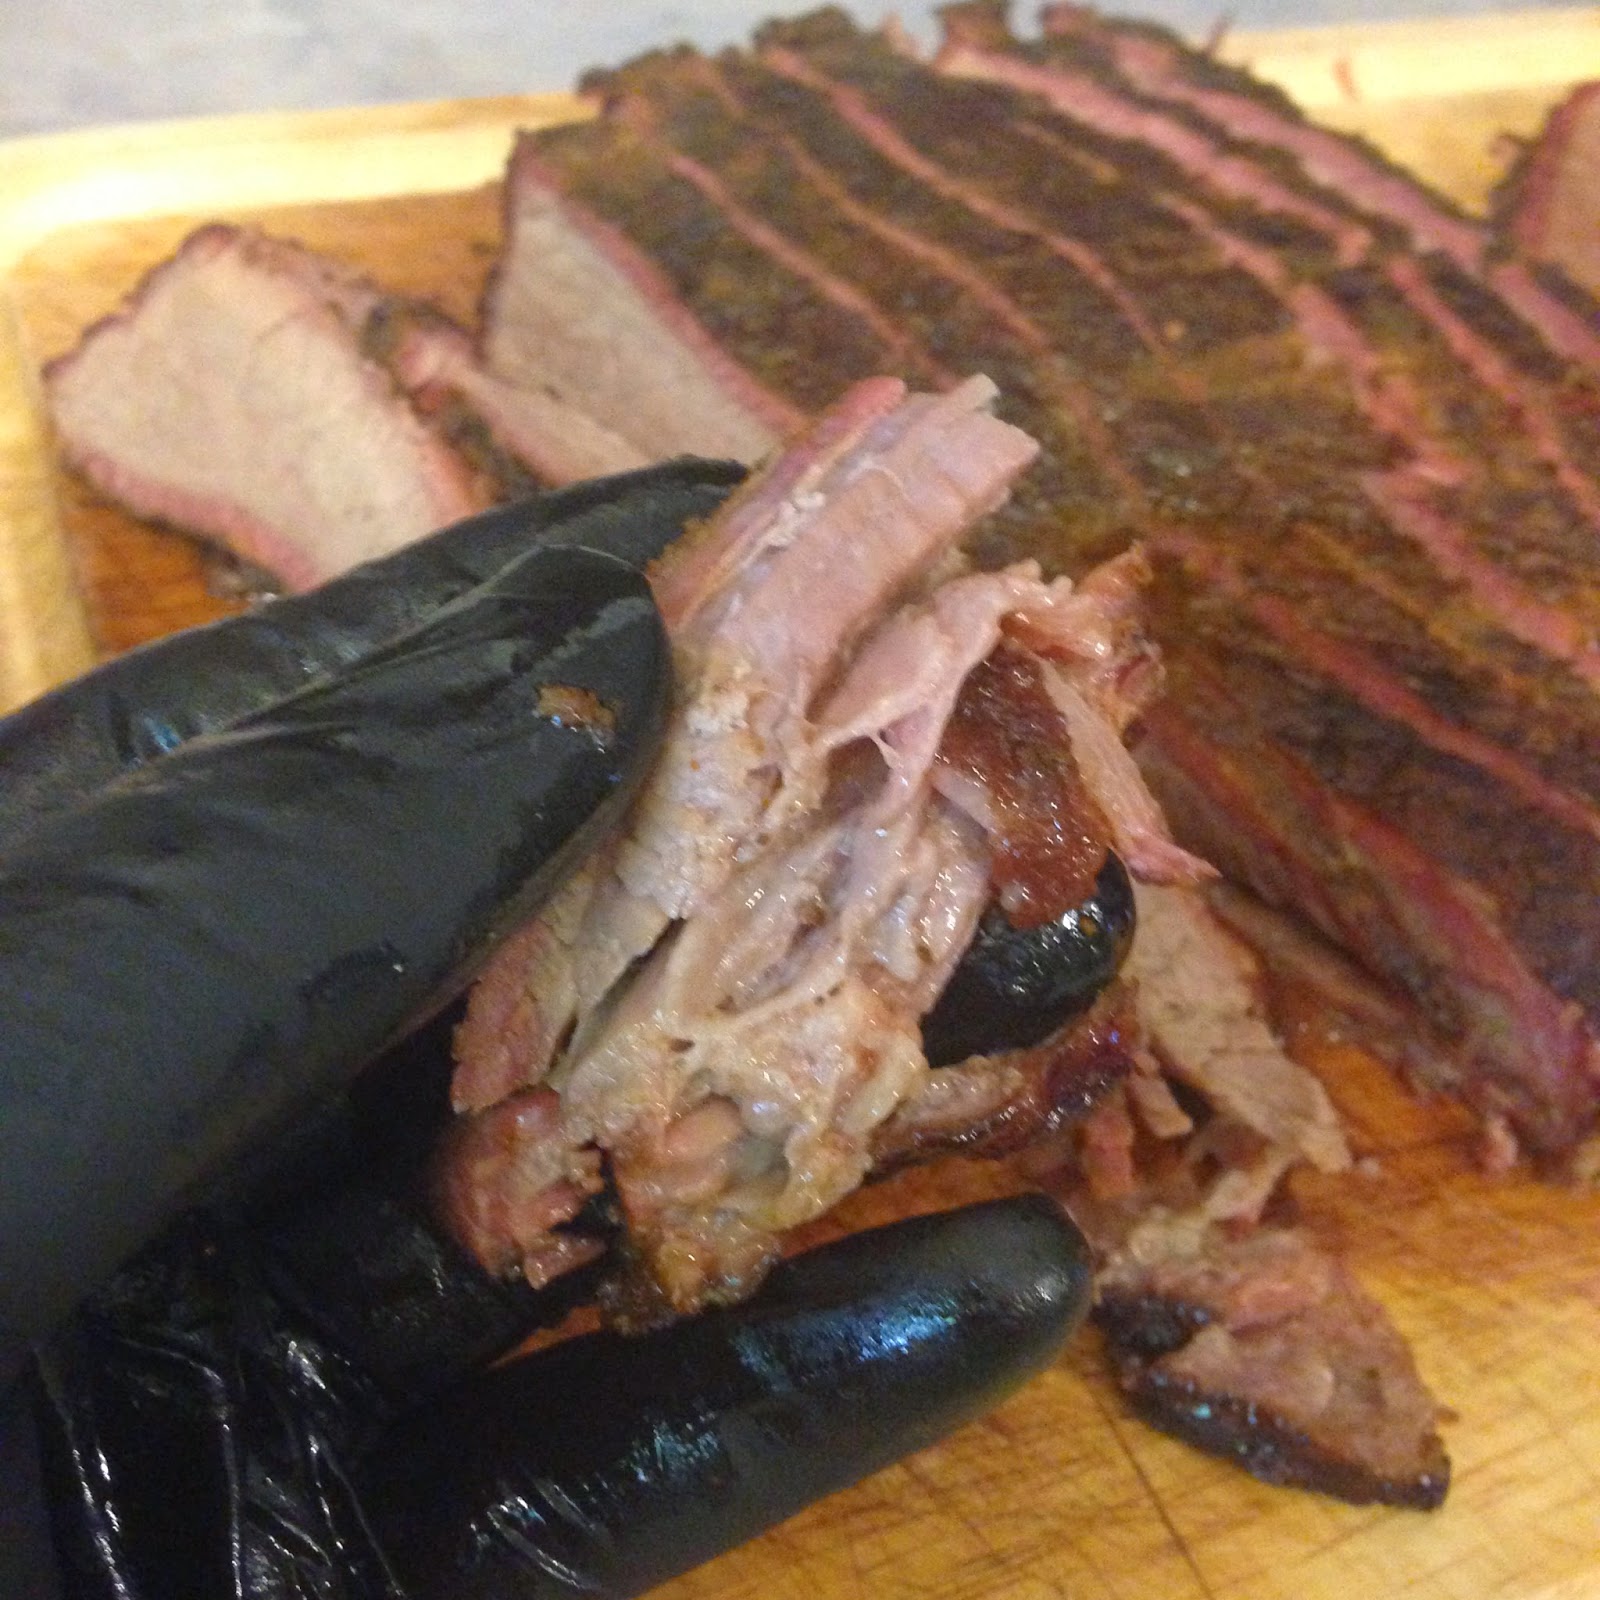
Just after 5pm my brisket finally broke the 200 degree mark and was ready to be pulled. Again heeding advise I quickly added some apple juice to the brisket, re-foiled it and then wrapped it in a towel. Once cozy I placed it in a cooler bag and zipped it up tight


One and half hours later my brisket was ready to cut and of course EAT!


Lesson/Tips:


(1) Being my first low and slow cook I had some trouble keeping the temp at 250 or under, so in the first hour I was chasing temps as high as 300 and on average 275. I believe this was often due to not letting it fully adjust and settle in prior to tweaking the grates, more patience would have allowed me to settle in quicker.

(2) I found my brisket to be slightly dryer then I had hoped, during my next attempt I will try filling my drip pan with water to add moisture during the cook.

(3) Foil Wrapping is very helpful, that stall period around 150 degrees lasts a long time, foiling the meat will kick start it and help keep some juices in while you cook.

(4) My smoke ring was perfect (if I do say so myself) but the bark could have used some help. I'm wondering if this is because I did not use oil or mustard as a base to hold my rub on and build it up.

(5) Left over brisket makes for great hot-beef sandwhiches


Sauces & Rubs

(1) Muddy's Pit BBQ Rub
(2) Muddy's Pit BBQ Sauce

Heat Source & Tools

(1) Basques Natures Own Charcoal 
(2) Nature's Grilling Wood Chunks (Hickory)
(3) Kamado Joe Heat Deflector
(4) Maverick Digital Thermometer


Friday, May 30, 2014

Kamado Joe - My Frist Cook - Seared Prime Rib Steaks


It did not take me long to put u Kamado Joe to use, and since my Grill Grates arrived in the mail the very same day as my KJ, I thought what better way to kick things off then with a couple of Prime Rib steaks paired with baked potatoes (sorry in my excite I missed shooting pics of the potatoes)

I started off by getting the KJ up to 350-370, it took about 20 minutes to get there and stabilize. I then greased up a pair of bakers with olive oil and a heavy dose of salt and pepper, foil wrapped them and put them on the grill over indirect heat for 45 minutes (yeah that was enough).

Once the potatoes were done I pulled the heat deflector and added the Grill grates. Opening up the air vents I brought the KJ up to 550 and dropped the steaks (1" each) for 3 minutes per side.

The grill grates worked as advertised giving me those perfect diamond sear marks.


Tips:


I slightly over cooked these steaks, but being that it was my first time using the BBQ and the grates Im going to go easy on myself. Im not sure if it was the resting period that go me, or if the steaks were just not thick enough to hold up to that cook.. next time I will be shortening the cook slightly to 2 minutes per side

When using grill grates you need to watch your rub or spice mixture, the extreme heat applied by the grates can give them a burnt or bitter taste.. keep it simple and you will be happier with the outcome


Heat Source & Tools


(1) Kamado Joe (red bag) Charcoal 
(2) Grill Grates